
Kali Linux Installation
Kali Linux is one of the world’s. Which is the most popular Linux distributions designed specifically for cybersecurity, ethical hacking, penetration testing, digital forensics, and security research. Developed and maintained by Offensive Security, it comes with hundreds of pre-installed security tools. That helps professionals assess and improve the security of computer systems.
Whether you’re a cybersecurity student, IT professional, or beginner, learning. Then I must understand Linux. How to install Kali Linux is the first step toward building a practical cybersecurity lab.
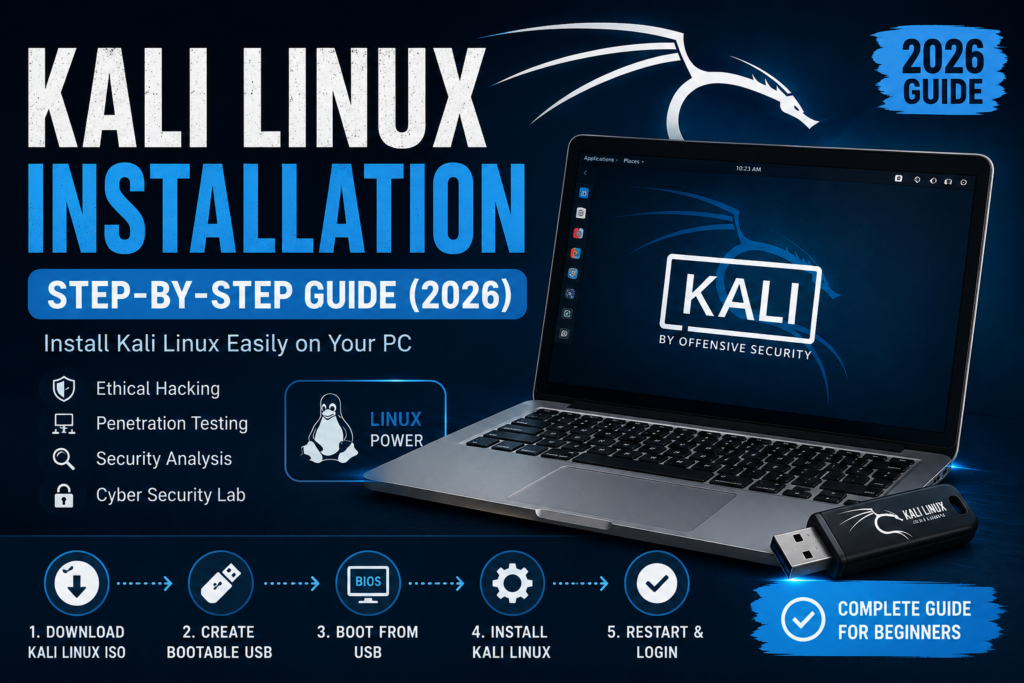
Table of Contents
What is Kali Linux?
Kali Linux is a Debian based Linux operating system. That includes hundreds of penetration testing and security auditing tools.
It is commonly used for:
- Ethical hacking
- Penetration testing
- Vulnerability assessment
- Network analysis
- Digital forensics
- Wireless security testing
- Reverse engineering
- Security research
Unlike normal desktop operating systems, Kali Linux is optimized for security professionals.
System Requirements
Minimum Requirements
- 2 GB RAM
- 20 GB Storage
- Dual-Core Processor
- USB Port (for bootable USB)
- Internet Connection
Recommended Requirements
- 4–8 GB RAM
- 50 GB SSD Storage
- Intel Core i5 / Ryzen 5 or better
- UEFI BIOS Support
- Virtualization Enabled (for VirtualBox/VMware)
Before Linux Installation
Download the following:
1. Kali Linux ISO
Official Website:
Choose:
- Installer Image
- 64-bit Version
2. Bootable USB Software
Windows
- Rufus
- Balena Etcher
Linux
- Balena Etcher
- Ventoy
- dd command
3. USB Drive
Minimum:
- 8 GB
Recommended:
- 16 GB USB 3.0
Step 1: Create a Bootable USB
Using Rufus:
- Insert USB.
- Open Rufus.
- Select your USB drive.
- Choose Kali Linux ISO.
- Partition Scheme:
- GPT (UEFI)
- MBR (Legacy BIOS)
- Click Start.
- Wait until the process completes.
Step 2: Boot from USB
Restart the computer.
Press the Boot Menu key:
- F12
- F10
- Esc
- F9
- Del
(Depends on the manufacturer.)
Choose:
UEFI USB Device
Step 3: Kali Boot Menu
You’ll see options like:
- Live System
- Install
- Graphical Install
Choose:
Graphical Install
This provides an easy installation interface.
Step 4: Select Language
Choose your preferred language.
Example:
English
Click Continue.
Step 5: Select Location
Choose your country.
Example:
Pakistan
Click Continue.
Step 6: Keyboard Layout
Select your keyboard layout.
Example:
English (US)
Continue.
Step 7: Configure Network
Enter:
Hostname
Example:
kali
Domain Name
Leave blank if you’re not using a domain.
Step 8: Create User Account
Enter:
Full Name
Example:
Ali Khan
Username
ali
Password
Create a strong password using:
- Uppercase letters
- Lowercase letters
- Numbers
- Symbols
Example:
Ali@2026Linux
Step 9: Disk Partitioning
Options:
Guided
Best for beginners.
Manual
Recommended for advanced users.
Choose:
Guided – Use Entire Disk
Step 10: Select Disk
Choose your SSD or HDD.
Example:
500 GB SSD
Step 11: Partition Scheme
Recommended:
All files in one partition
Click Continue.
Step 12: Write Changes
Select:
Yes
The installer formats the disk and copies Kali Linux.
Installation usually takes:
10–30 minutes.
Step 13: Install GRUB Bootloader
Choose:
Yes
Install GRUB on:
/dev/sda
or
/dev/nvme0n1
Step 14: Finish Installation
Click:
Continue
The computer restarts.
Remove the USB drive.
Kali Linux will boot from the installed disk.
First Login
Enter:
Username
Kali
Password
********
You will see the Kali Linux desktop.
Update Kali Linux
After installation, open Terminal.
Run:
sudo apt update
Then:
sudo apt full-upgrade -y
Finally:
sudo reboot
This ensures you have the latest security patches and tool updates.
Installing VMware Tools or VirtualBox Guest Additions
If Kali is running inside a virtual machine:
VMware
sudo apt install open-vm-tools-desktop -y
VirtualBox
sudo apt install virtualbox-guest-x11 -y
Restart the VM after installation.
Common Installation Problems
Black Screen
Possible causes:
- Graphics driver issue
- Secure Boot enabled
Solution:
- Disable Secure Boot.
- Update graphics drivers after installation if needed.
USB Not Booting
Solutions:
- Recreate the bootable USB.
- Verify the ISO checksum.
- Check BIOS boot order.
No Wi-Fi
Possible reasons:
- Missing firmware
- Unsupported Wi-Fi chipset
Solution:
- Connect via Ethernet temporarily and install the required firmware or drivers if available.
Boot Loop
Solutions:
- Reinstall GRUB.
- Verify the installation media.
- Check BIOS/UEFI settings.
Security Tips After Installation
- Keep Kali updated regularly.
- Use strong passwords.
- Create backups before major changes.
- Install software only from trusted repositories.
- Use a standard user account for daily tasks and elevate privileges only when needed.
- Use Kali only on systems you own or where you have explicit authorization to test.
Example
Scenario: Learning Network Security in a Home Lab
Ahmed is a university student studying cybersecurity. He wants to understand how networks work and practice using security tools in a safe environment without affecting his main Windows installation.
He downloads the official Kali Linux ISO, creates a bootable USB, and installs Kali Linux on an old laptop that he no longer uses for daily work. After updating the system, he sets up a small home lab using his home router and a virtual machine running a test operating system.
In this controlled environment, Ahmed learns how to:
- Analyze network traffic with Wireshark.
- Scan his own lab devices with Nmap.
- Practice Linux commands and scripting.
- Understand common vulnerabilities on intentionally vulnerable practice systems.
By using Kali Linux only in his own lab and with systems he is authorized to test, Ahmed gains practical cybersecurity skills while following ethical and legal guidelines.
Advantages of Kali Linux
- Free and open source
- Debian-based and stable
- Hundreds of built-in security tools
- Frequent updates
- Large community support
- Suitable for beginners and professionals
- Supports physical machines, virtual machines, cloud deployments, and live USB
Conclusion
Installing Kali Linux is straightforward when you follow the correct steps. Whether you install it on a physical computer, in VirtualBox, or in VMware, Kali Linux provides a powerful environment for learning Linux, cybersecurity, and penetration testing. Start with basic Linux commands, keep your system updated, and practice only in authorized environments to build your skills safely and responsibly.
FAQ
Is Kali Linux free?
Yes. Kali Linux is completely free and open source.
Can beginners use Kali Linux?
Yes. Beginners can learn Linux fundamentals and cybersecurity concepts with Kali Linux, though basic Linux knowledge is helpful.
Can I install Kali Linux alongside Windows?
Yes. Kali Linux supports dual-boot installation with Windows when configured correctly.
Can I install Kali Linux in VirtualBox or VMware?
Yes. Running Kali Linux in a virtual machine is a popular and convenient option for learning and testing.
Is Kali Linux legal?
Yes. Kali Linux itself is legal. However, security testing should only be performed on systems you own or have explicit permission to assess.

Abhi hm SSD card ma linux install kry ya windows ma hi VirtualBox wala linux bhi kr skty hain ,??.. dono ma aik jesa kam hoga?? . ap kya recommend krty hain ??
Agr temp use k lye chaye tu USB ma boot kr lo.